Looking for help?
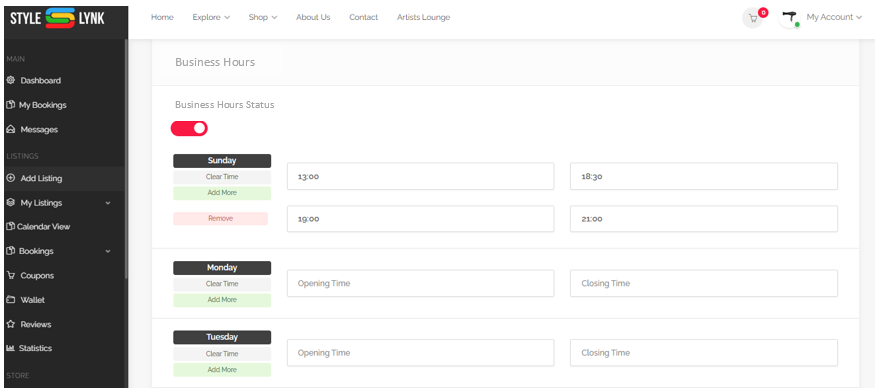
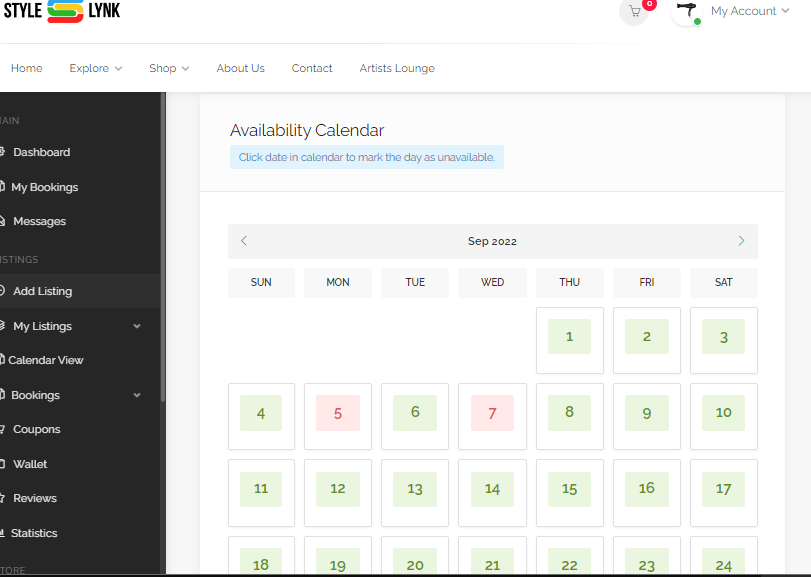
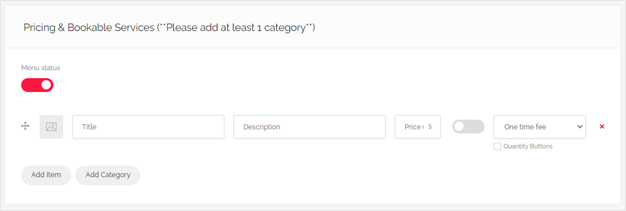
Adding A Professional Listing

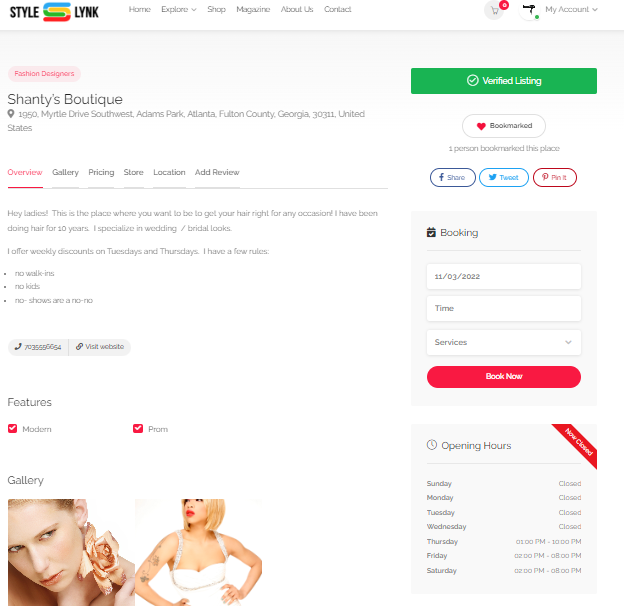

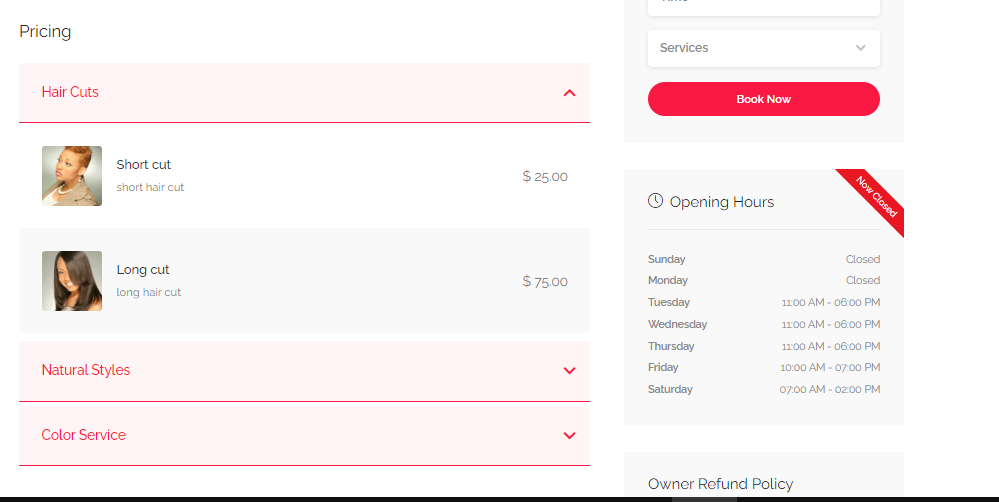
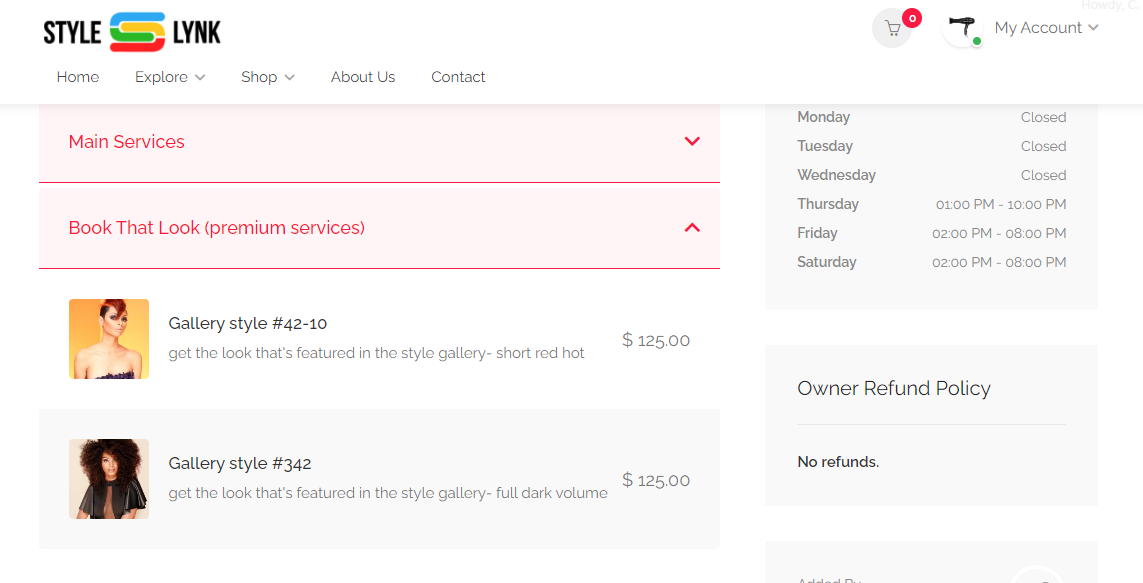
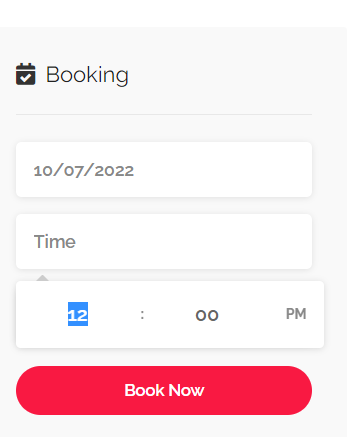
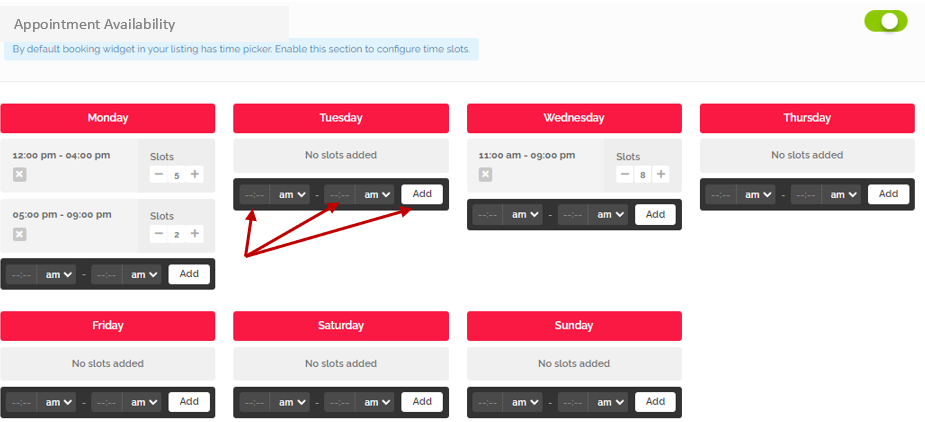
the booking widget
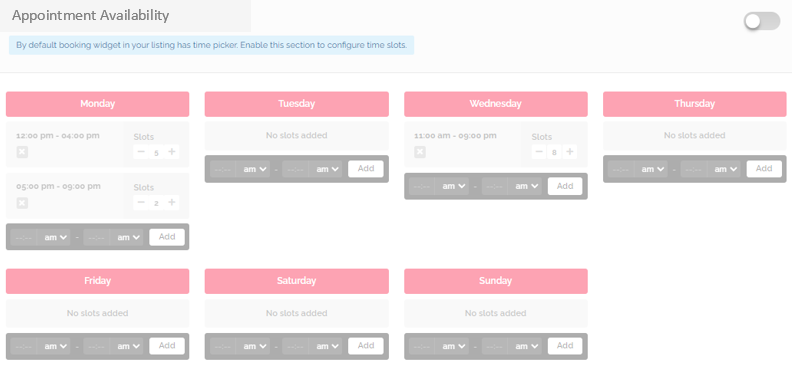
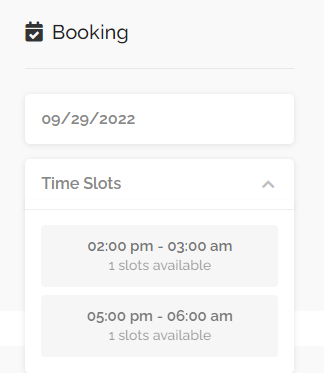
the Booking widget